The Panning feature in Midjourney enables users to start from a single concept and expand their image one step at a time to create a beautiful work of art.
In this article, you'll learn how to use the Midjourney Panning tool and how it can improve the images you generate using this text-to-image AI model.
I have to say that this is one of the better features the Midjourney team released so far. It is an enormous help to AI artists. It effectively gives you more control over the image you're creating.
Let's dive in and see exactly how the Panning tool in Midjourney works.
How Does the Midjourney Panning Feature Work?
The Pan feature enables you to extend an image in a certain direction. You will have the option to use this tool only after you upscale a certain image.
The Pan tool is represented as four different arrow buttons, each reserved for a certain direction. You have the option to pan an image multiple times.
If you use the Pan feature without giving any additional context to the AI model, it will extend the output and fill it with details that usually complement the image. Sometimes, the new details won't be what you might be looking for though.
That's why I think it's best to use the Remix mode when you decide to pan your images in a certain direction.
The Remix mode enables you to change your prompt every time you click an arrow button. In other words, you get to decide what will be generated each time you extend an image.
If you're not sure how to activate the Remix mode, you can simply type /settings in the Midjourney Discord and you'll see a button called "Remix mode".
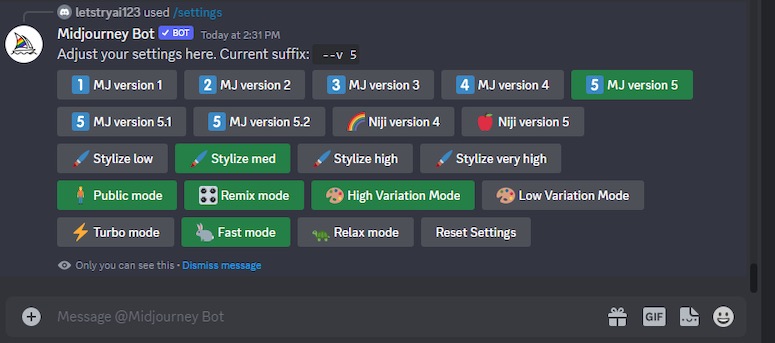
In case the button is green, you'll know that the mode is activated. Now that you've completed this essential step, you can start using the Pan tool.
How to Use the Midjourney Panning Tool
One thing that's important to know about the Pan tool in Midjourney is that it changes the aspect ratio of your image. Thankfully, you can adjust the aspect ratio. The best way to do this is by using the Custom Zoom option.
As a basic introductory guide, I'll show you how to use the Panning tool without using the Remix mode. After that, I'll show you the true power of this feature when combined with the Remix mode.
I'll show you how the Pan tool in Midjourney works with a simple prompt.
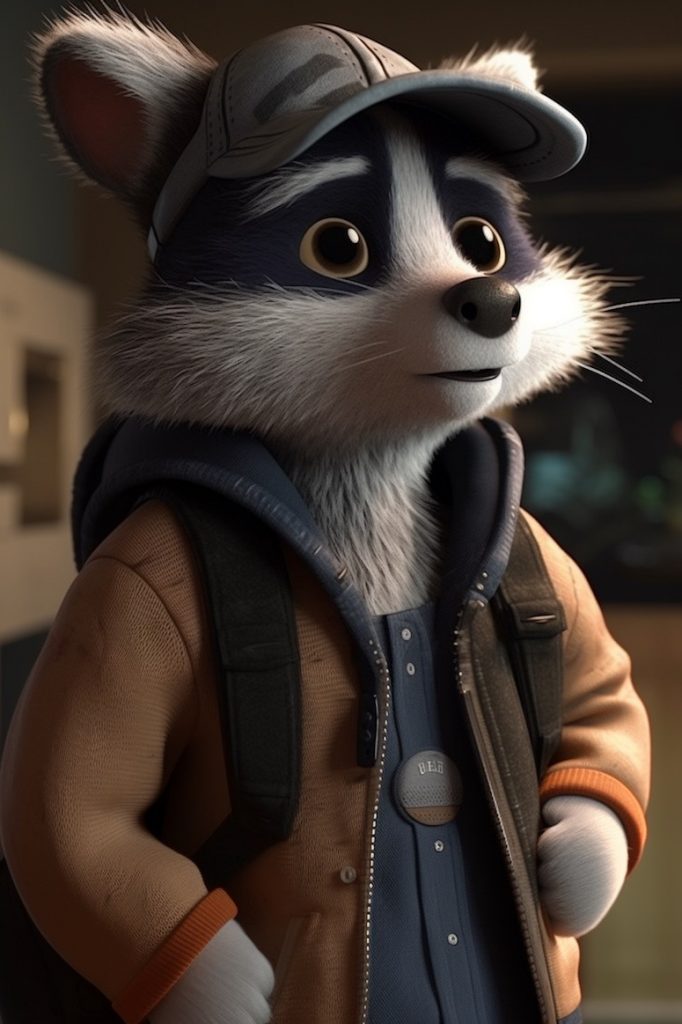
/imagine 3D animation, Pixar movie close-up scene, cute anthropomorphic raccoon thief dressed in smart clothing --v 5
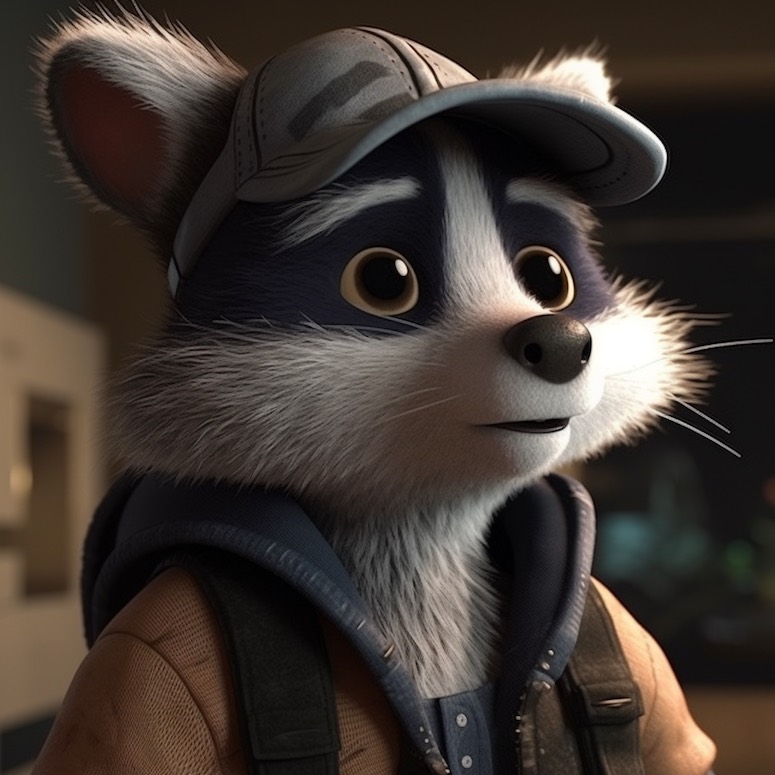
I decided to create a 3D animated character to showcase the power of the Pan tool. If you want to know more about how to create cool characters in Midjourney, I have a whole article on that topic. The article is filled with prompts for both photorealistic and animated characters.
The AI model generated four images from my prompt, and I chose the one I liked the most. When I upscaled the image, I got the option to pan it in four directions.
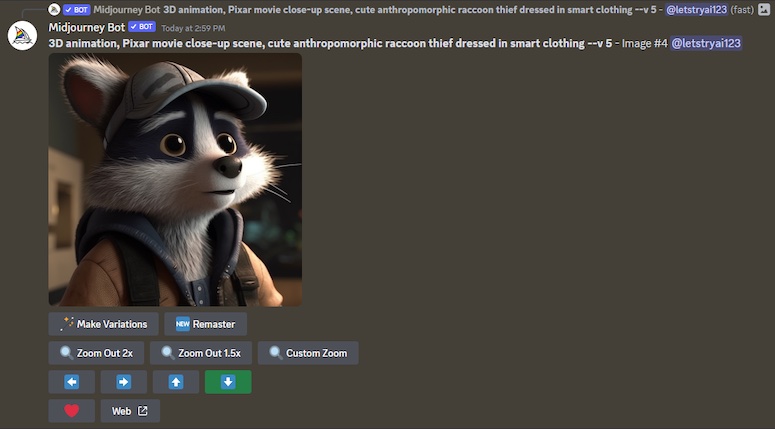
I decided to Pan Down the image, which changed the aspect ratio from a square to a portrait.
I didn't want the aspect ratio to change just yet, so I decided to revert it back to 1:1 ratio with the Custom Zoom feature. I set the zoom to 1.25x and here is what the AI model generated.

Now we're getting somewhere. But to truly explore the Panning feature, I have to incorporate the Remix mode in my prompting. This will enable me to add details that I want to see in the extended version of the current image.
This time, I want to pan the image to the right. Since I've activated the Remix mode, I can make changes to the prompt to generate what I want.
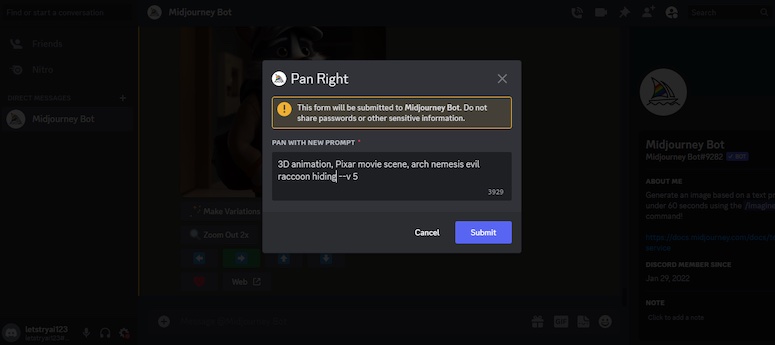
I wanted to include a villain in this scene, which is why I decided to add an evil raccoon to the image. I didn't go into a lot of detail in the prompt. Instead, I entered it several times to see what Midjourney would generate. I picked the one I liked the most.
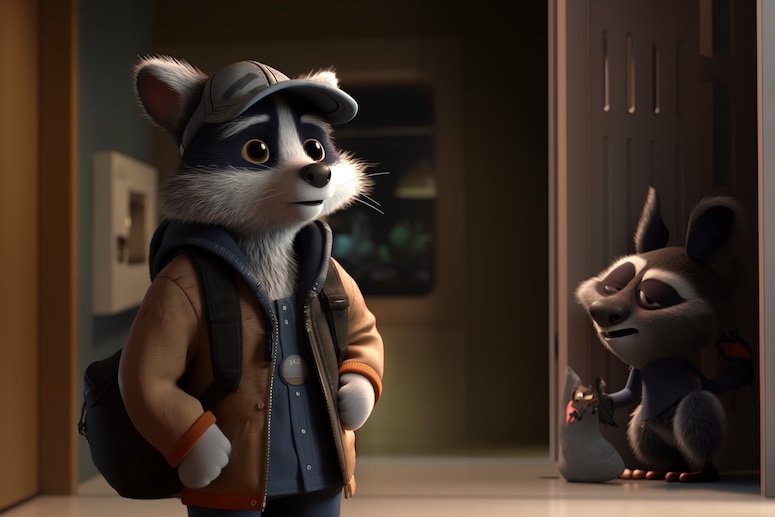
This raccoon looks like someone our main character would despise, so I think Midjourney did a pretty good job generating this character. But our job is not yet finished. I wanted to return the image to the default aspect ratio. This time, I did it by clicking the "Make Square" button.

Compare this image with the one I started with in this article, and you'll see the power of the Panning feature in Midjourney. You can start with a simple concept and turn it into a whole scene filled with details you've carefully added to the image.
Why Use the Midjourney Panning Tool
The Midjourney Panning tool enables users to fully express their creativity when they're interacting with this text-to-image AI model. When you combine this feature with the Remix mode in Midjourney, it gives you more control over image generation.
You can take a simple close-up shot with a 1:1 aspect ratio and turn it into a landscape image with a ton of details you added one by one.
Don't forget that each time you use the Panning tool, it will change the aspect ratio of your image. If you want to revert the aspect ratio to that of the original image, you should use either the Custom Zoom option or the Make Square feature.
The thing I like the most about the Panning feature in Midjourney is that it gives me the opportunity to work on an image one step at a time. If you learn how to use this tool well, it will drastically improve the quality of the images you generate in Midjourney.